Client files are the foundation of working in Divorcepath. Each file organizes all the information about a matter in one place, including party details, children, relationship history, and finances. This guide walks you through creating your first client file step by step.
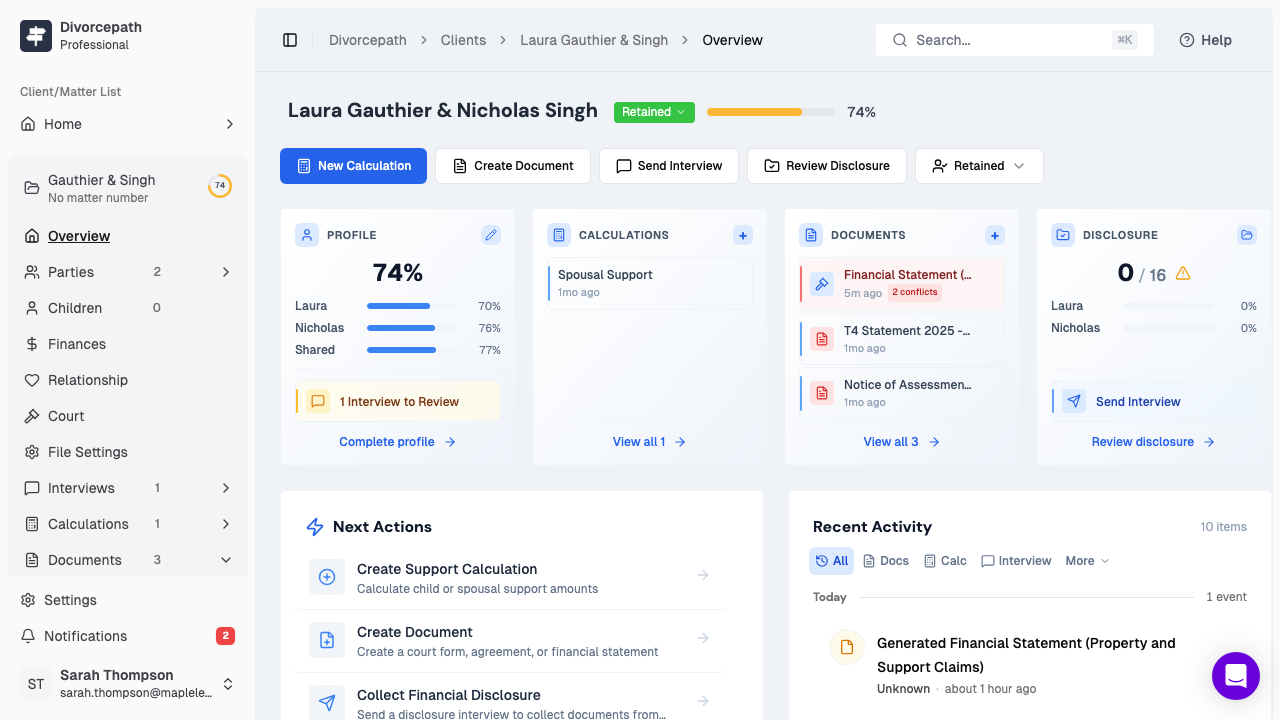
Step 1 — Create a New Client
- From your dashboard, click the New Client button in the Clients tab.
- You will be taken to a new client file where you can begin entering information.
Step 2 — Enter Client (Party 1) Information
Start by filling in the details for your client under the Parties section:
- Enter the client's full legal name.
- Enter their date of birth.
- Add their current address and contact information.
- Select the appropriate province or territory of residence. This determines which child support tables and jurisdiction-specific rules apply.
Step 3 — Add the Other Party (Ex-Spouse/Partner)
Next, enter the information for the other party:
- Click on the Ex-Spouse/Partner section or tab.
- Enter their full legal name, date of birth, and address.
- Select their province or territory of residence (this may differ from your client's).
Step 4 — Add Children
If there are children of the relationship, add each child to the file:
- Navigate to the Children section and click Add Child.
- Enter each child's name and date of birth.
- Select the parenting arrangement for each child (primary residence with one parent, or shared parenting).
- Repeat for each child.
Tip: The parenting arrangement you select affects how child support is calculated. If a child spends at least 40% of their time with each parent, select shared parenting.
Step 5 — Enter Relationship Details
The Relationship section captures the history of the relationship, which is important for spousal support and property division:
- Select the type of relationship (married or common-law).
- Enter the date of marriage or cohabitation.
- Enter the date of separation.
- If applicable, enter the date of divorce.
These dates are used to determine the length of the relationship, which directly affects spousal support duration and entitlement under the SSAGs.
Step 6 — Enter Financial Information
The Finances section is where you enter income and financial details for both parties:
- Enter employment income (T4 income) for each party.
- Add any additional sources of income, such as self-employment, pension, investment, or other income.
- Review and add any applicable guideline income adjustments (e.g., union dues, prior support obligations).
- If relevant, add special or extraordinary expenses for the children (e.g., childcare, medical, educational expenses).
Tip: You do not need to complete every section before running a calculation. You can save your progress and return to add or update information at any time.
Step 7 — Enter Court Information
If the matter involves court proceedings, you can add court details to your client file:
- Select the court and court location.
- Enter the court file number, if one has been assigned.
This information will be included in any court forms or documents you generate from the file.
Next Steps
Once your client file is set up, you are ready to:
- Run a support calculation — Use the child support or spousal support calculator to generate results based on the information in the file.
- Generate documents — Create court forms, financial statements, or agreements tailored to your jurisdiction.
- Share with your client — Send intake forms or invite your client to review and provide information.
Your client file saves automatically as you work, so you can return to it at any time to update information or generate new calculations and documents.
