Client intake interviews allow you to collect detailed information from your clients remotely. By sending an interview link via email, your clients can provide personal, financial, relationship, and family information at their convenience. The responses are then available for you to review and merge into the client profile.
What Are Intake Interviews?
Intake interviews are structured questionnaires that collect information directly from your clients. Unlike disclosure requests (which are sent to the opposing party), intake interviews are sent to your own clients to gather the information you need to manage their file. Interviews are pre-populated with any data already saved to the client profile, so clients only need to fill in what is missing or update what has changed.
Creating a New Interview
To create and send a new intake interview:
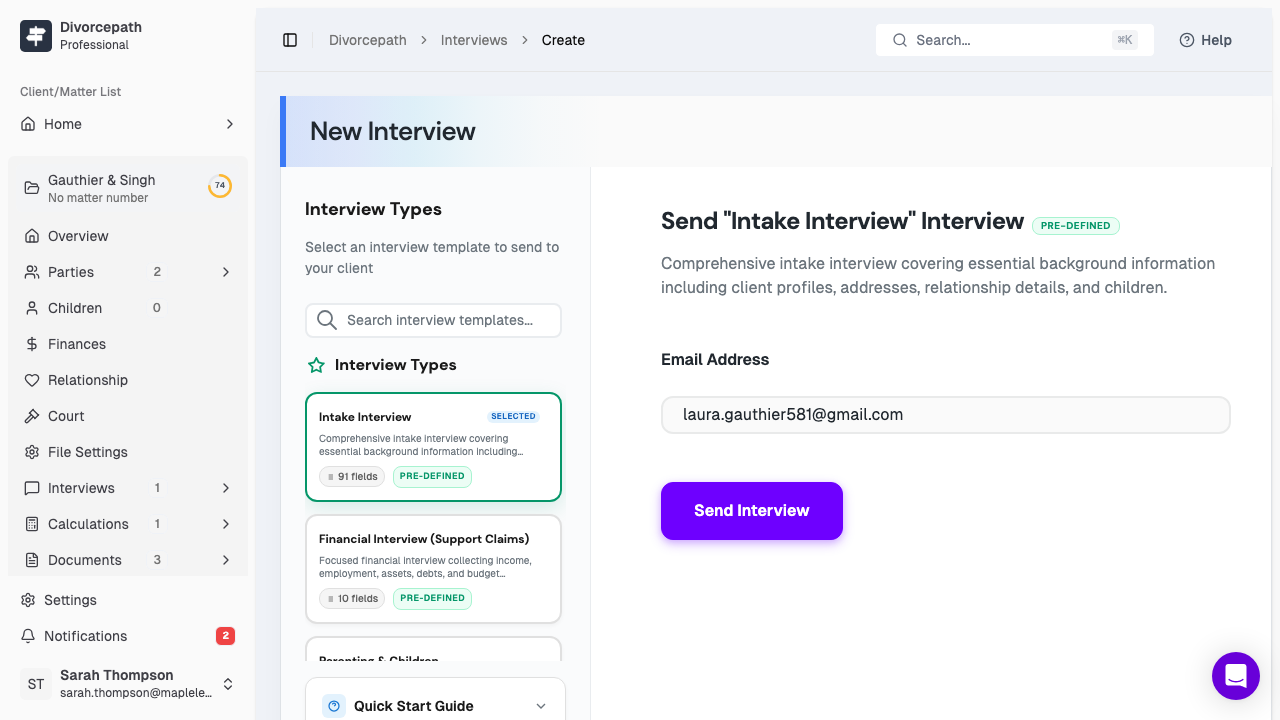
- Open the client file and navigate to the Interviews tab.
- Click the New Interview button.
- Choose an interview template, or select Custom to build a custom questionnaire.
- Select the data categories you wish to collect (see below).
- Enter the client's email address if it has not already been saved to the profile.
- Optionally, set an expiration date for the interview link.
- Click Send to deliver the interview link to the client via email.
The client will receive an email with a secure link to the interview. They can access and complete the interview without needing a Divorcepath account.
Choosing a Template
When creating a new interview, you can select from the following template types:
- Global templates — pre-defined templates created by Divorcepath that cover common intake scenarios.
- Organization templates — custom templates created by your team that are shared across your organization.
- Custom — build a one-off questionnaire by selecting specific question categories and paths.
Templates determine which questions are included in the interview. For more information on creating and managing templates, see the Interview Templates article.
Selecting Data Categories
You can customize the interview to collect specific types of information. Available data categories include:
- Personal information — contact details, address, date of birth, and other identifying information.
- Relationship details — date of marriage or cohabitation, separation date, and relationship history.
- Children — information about children of the relationship, including custody and parenting arrangements.
- Financial information — income, expenses, assets, liabilities, and other financial details.
Selecting only the relevant categories keeps the interview focused and reduces the time your client needs to spend completing it.
Tracking Completion Status
Once an interview has been sent, you can monitor its progress from the Interviews tab. Each interview displays its current status:
- Sent — the interview link has been delivered but the client has not yet started.
- In progress — the client has opened the interview and begun answering questions.
- Completed — the client has finished and submitted the interview.
- Expired — the interview link has passed its expiration date without being completed.
Resending Interview Links
If a client has not received or has lost the interview email, you can resend the link:
- Navigate to the Interviews tab in the client file.
- Locate the interview you wish to resend.
- Click the Resend button to send a new email with the interview link.
The resent link will direct the client to the same interview, preserving any answers they have already provided.
Setting Expiration Dates
When creating an interview, you can optionally set an expiration date. After the expiration date, the interview link will no longer be accessible. This is useful for:
- Encouraging clients to complete the interview promptly.
- Ensuring that stale interview links are not used to submit outdated information.
- Maintaining control over the data collection timeline.
If an interview expires before the client completes it, you can create and send a new interview at any time.
